In a past post where I got my soldering iron out and starting installing DCC Decoders into Hornby locomotives from the early 2000s you might have seen I had taped down the pantograph while I was working on the Locomotive.
The pantographs on these old locomotives, unlike the modern versions were made of metal, and were actually designed to be used to power the locomotive if your layout included active overheard wires. Not a feature you see on modern locomotives!
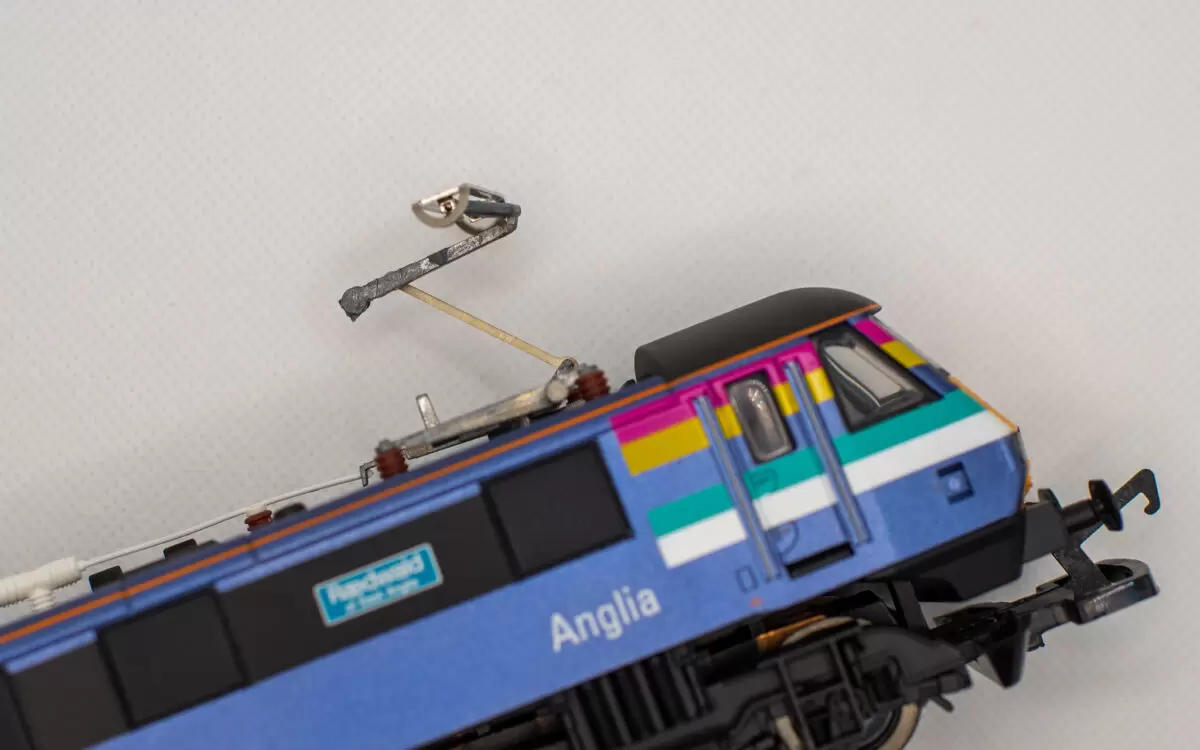
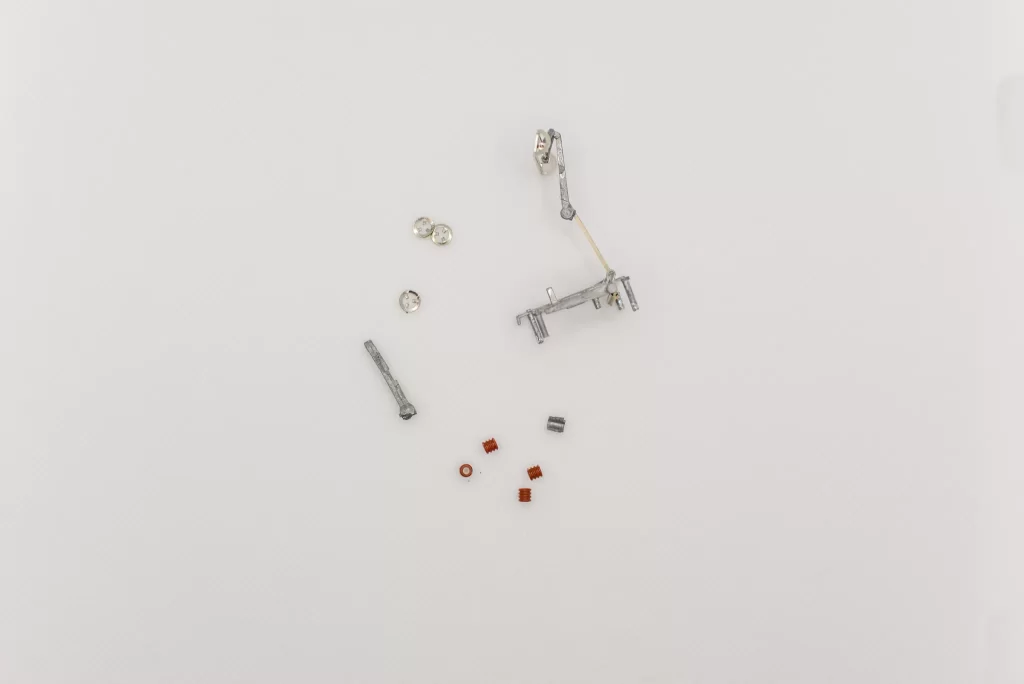
They’re actually quite fragile – and sadly one of my recent eBay purchases arrived in the post with a broken main arm (as you can see in the photo at the top of the post). The photos on the listing showed it to be intact, and it appears to have not survived the journey in the mail. Thankfully the seller offered to remove one from another loco and send it down. So a repair is possible.
Should you not be in this fortunate position, you’re going to be pretty stuck! The spare part doesn’t appear to be carried by Hornby any more (which is fair given they’re 16-20 years old!) and when a few salvaged ones appear on eBay they’re about £30! Given a loco of this era in good condition typically sells for ?70-?80 that’s a considerable chunk of the model trains value!
Make sure you check you have the right part, and double check the seller is selling you the right part. You can do this by checking the Hornby service sheet for your loco. In the case of my Class 90 it’s this one Service Sheet No.273E and the part is a X8013.
They’re also difficult to get off without breaking them, or damaging the body of the train. But here goes!
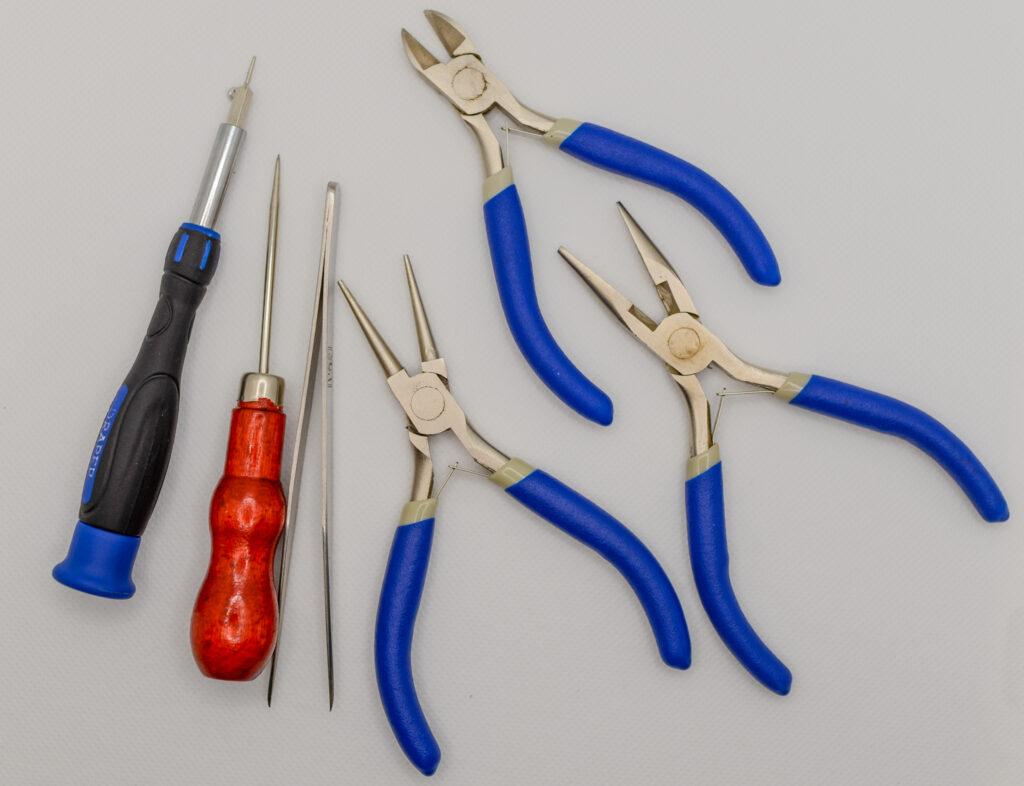
Tools for the Job
The tools I used were a mixture of small screwdriver bits, tweezers and varies small nosed pliers from a jewellery repair kit.
Removing the Pantograph
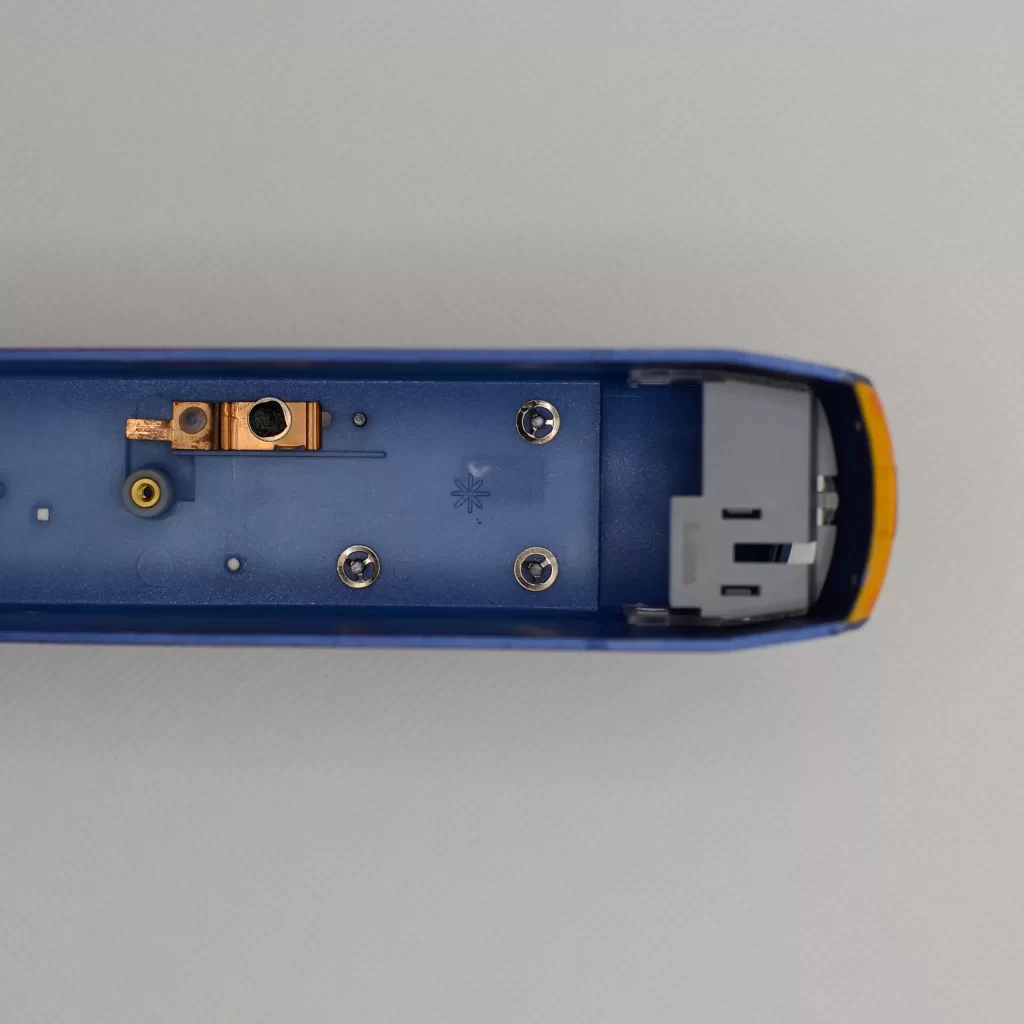
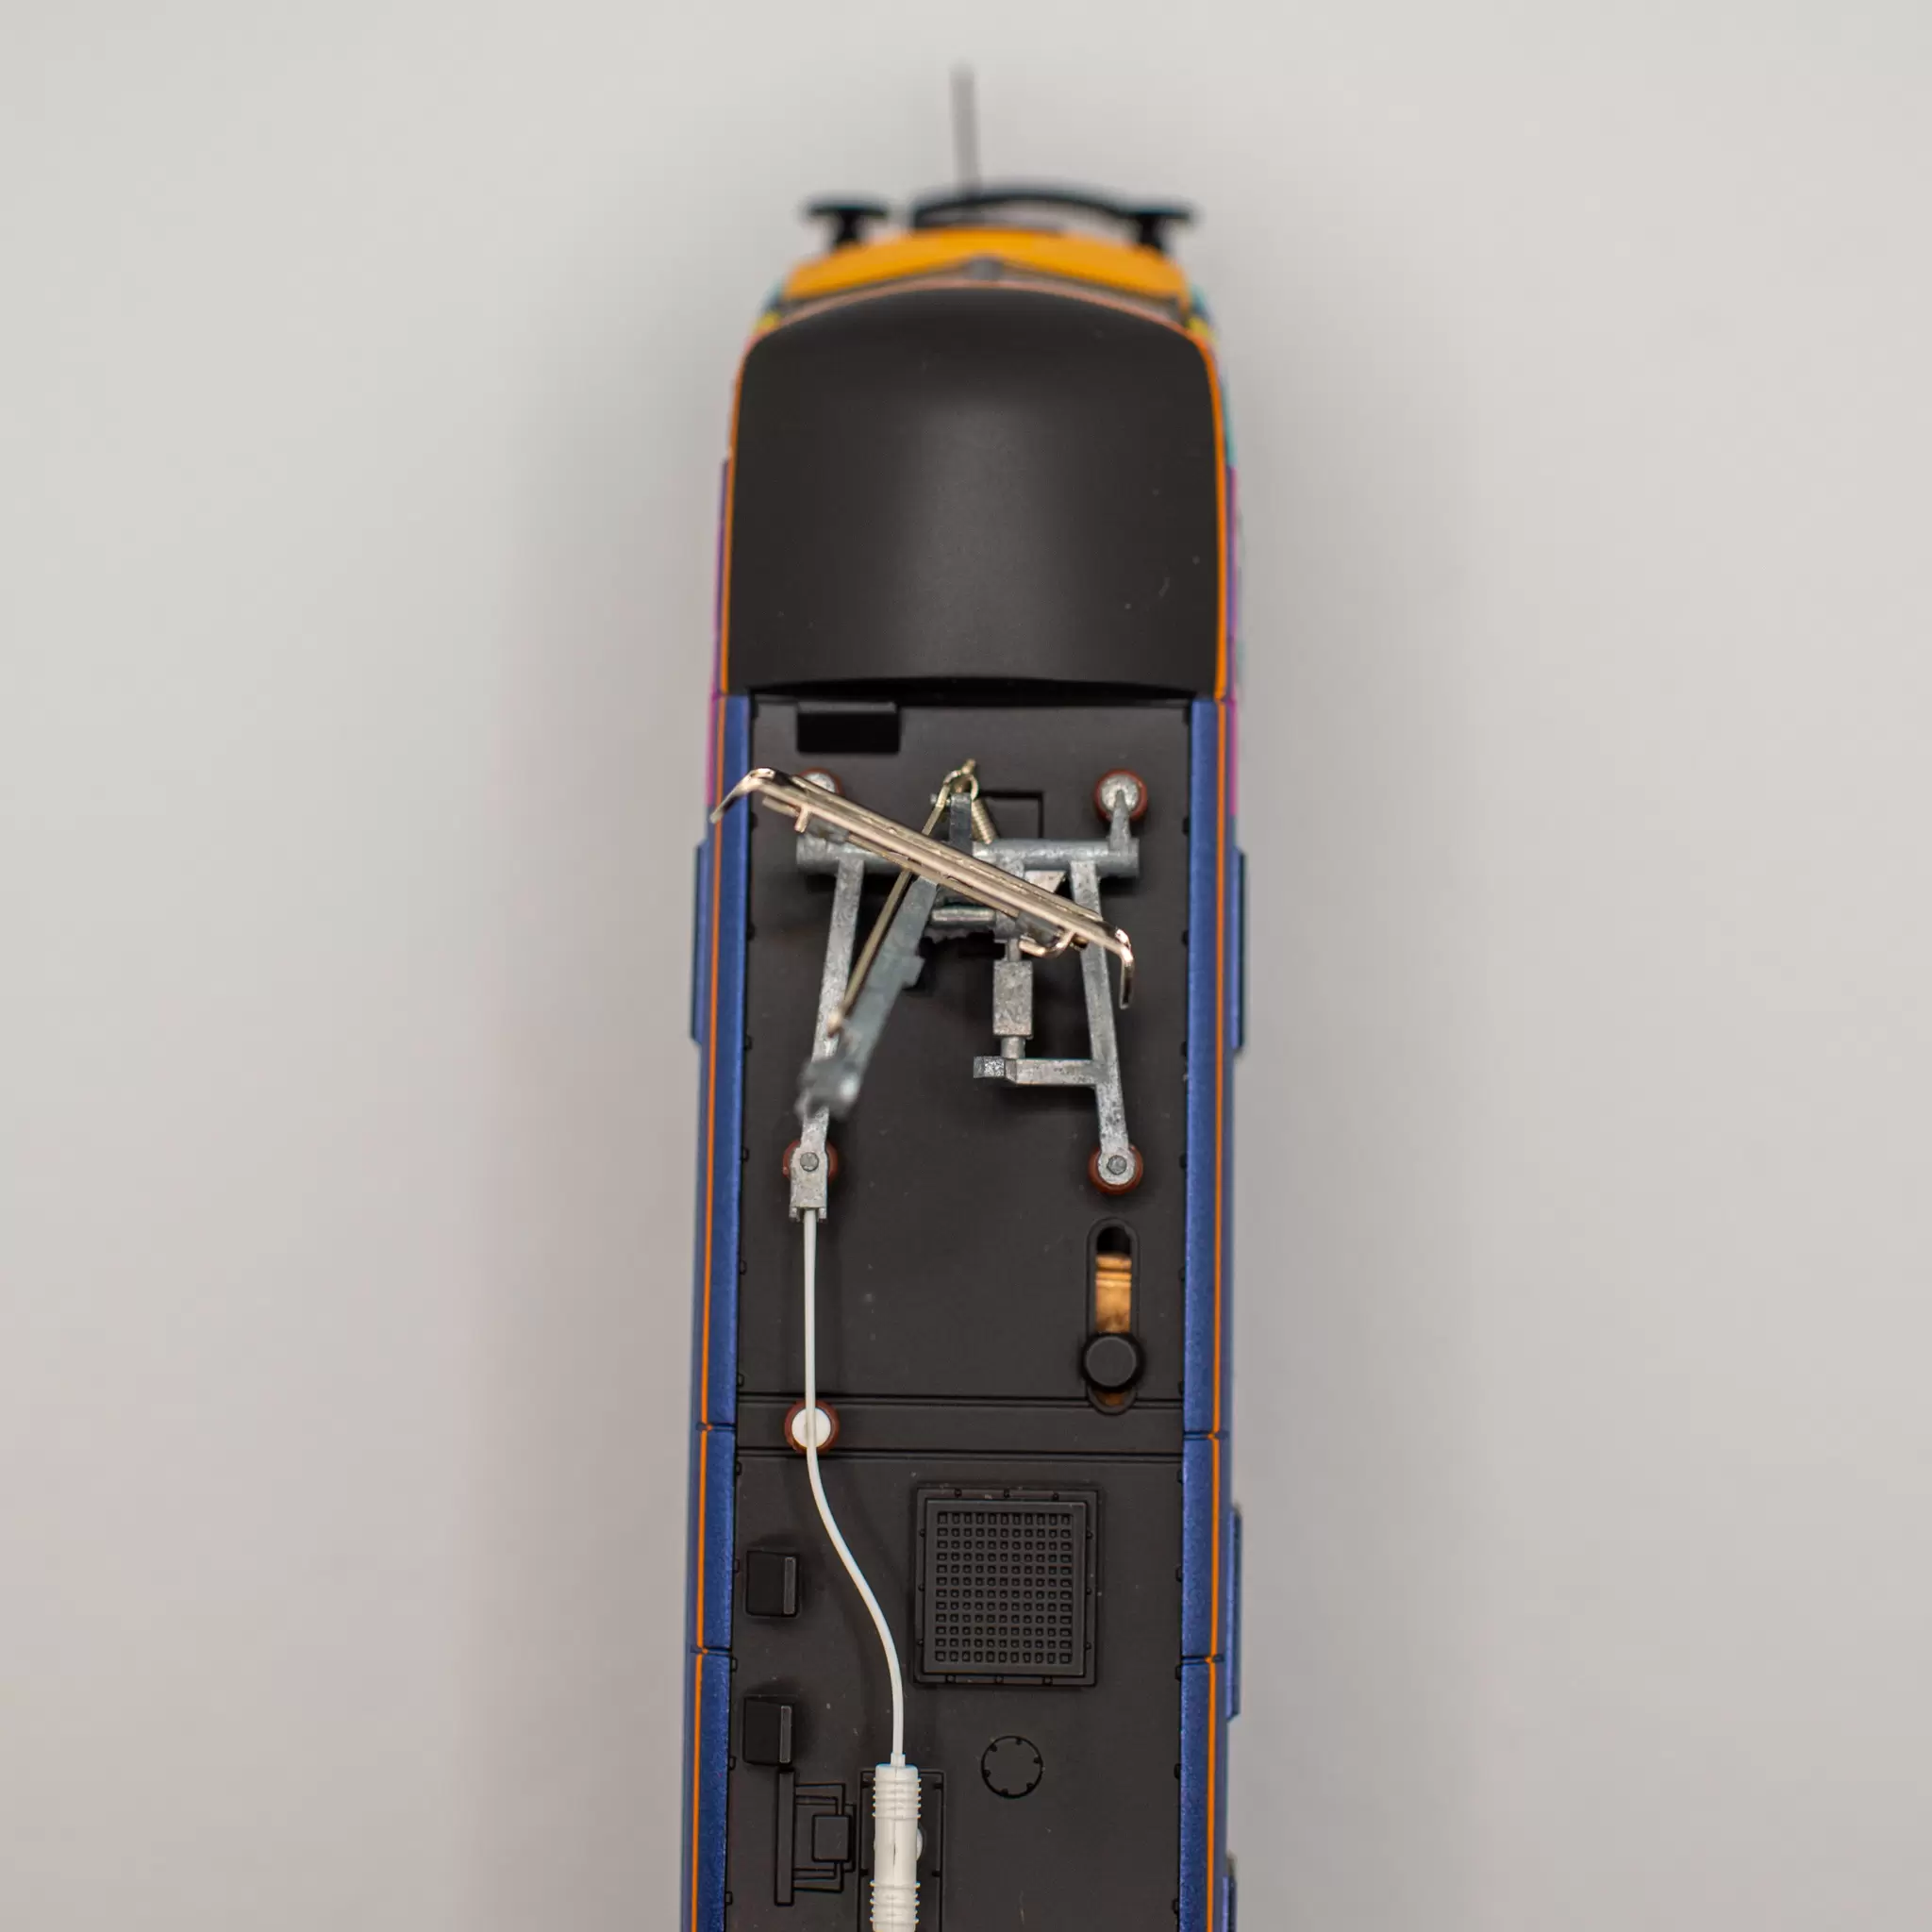
Basically inside the roof of the body 3 of the 4 legs of the pantograph are secured with metal gripping washers, each washer on this variant has 3 arms that bite into the legs of the pantograph that are pushed through the roof. The 4th leg is positioned near the copper power switch which selected whether power for the loco comes from the pantograph or the wheels and this leg has no washer on it.
It’s basically a mission of trying to pry underneath the arms of the washer and lift them away from the pantograph leg. I tried all the small tools I had but struggled to get the best angle to lever the up.
The most useful tool was the small wire cutters I had, without cutting the washer I was able to grab enough of it in the jaw of the cutters and with a strong grip pull the washer up off the leg.
Whilst being very careful not to damage the body! It came off, in the number of pieces it was broken into before needing repair. You can see below the legs were intact, but the hinged arm had broken.
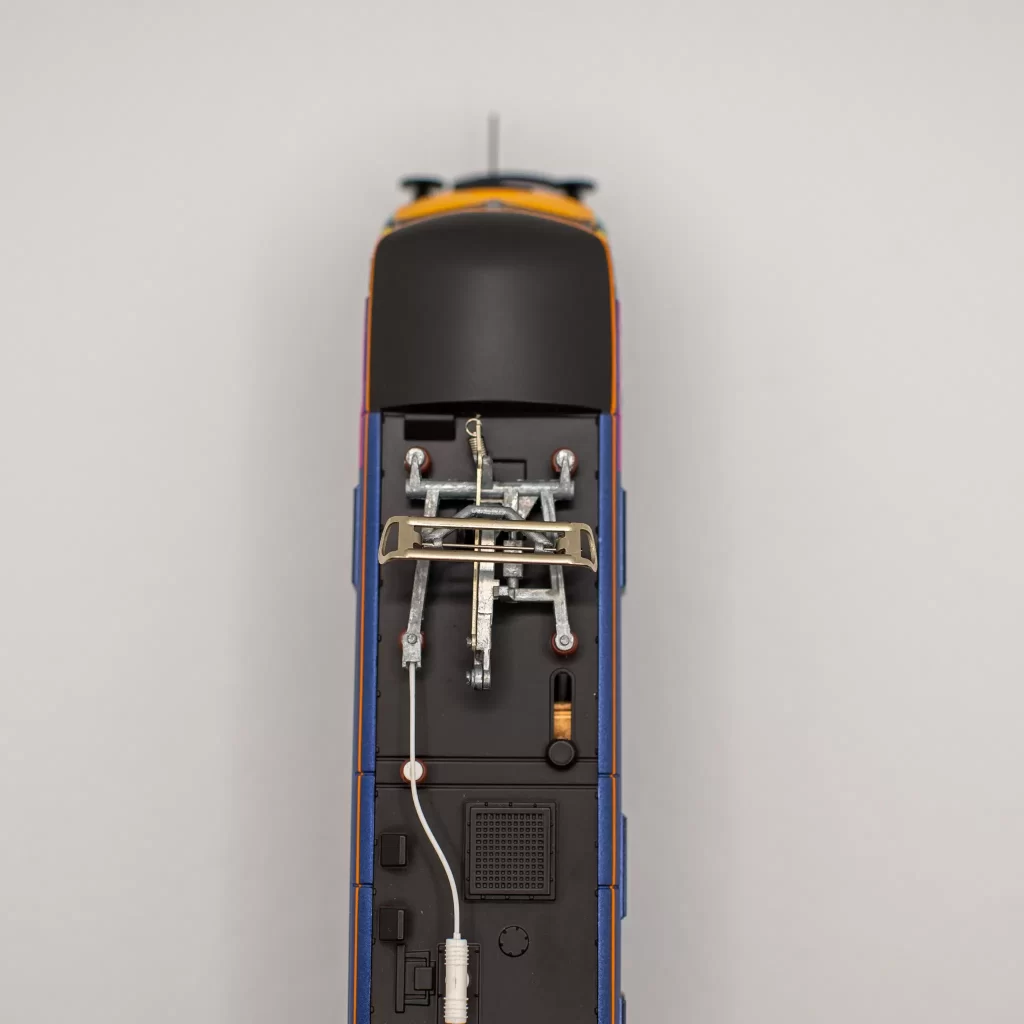
And then slotting the other one in was straight forward. It aligned with the holes confirming it was the right part (I did offer it up before attacking the broken one to make sure). And then securing in the body.
Before and After
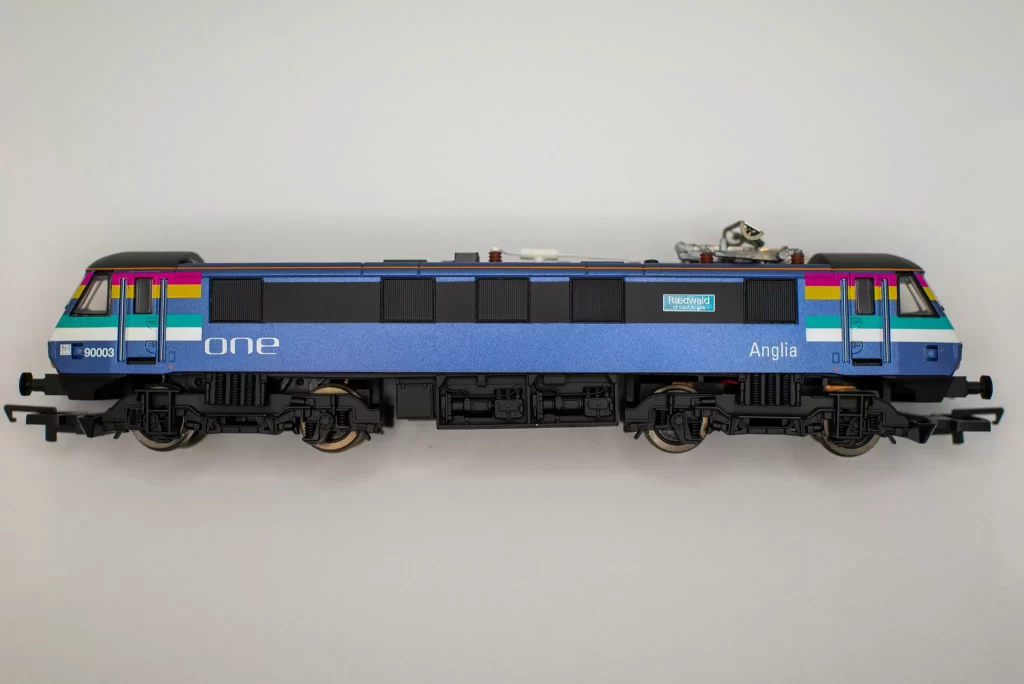
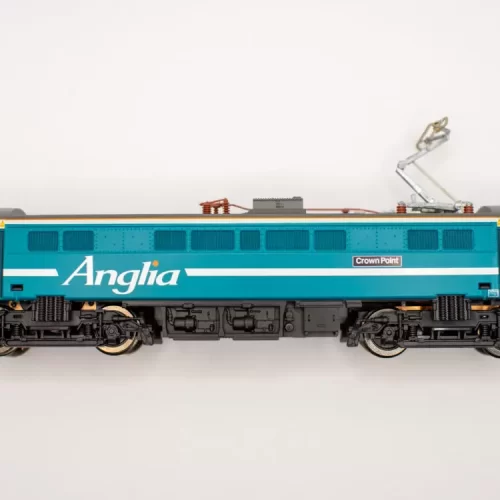
That’s one restored Hornby R2473 Class 90 in National Express One, Dusk blue livery.
And of course while it was open I modified it with a DCC Decoder socket and Decoder chip.